FIVE-STAR TEAM WARRANTY &
SAME-DAY SERVICE
Can I Install A Water Heater Myself
While it’s technically possible to install a water heater yourself, it’s essential to emphasize the importance of following the necessary safety measures and adhering to local building codes and regulations. Water heater installation involves working with gas lines, electrical connections, and plumbing, which can pose significant risks if not done correctly. Since this is a complex and responsible job, we would like to offer you a free consultation regarding the installation of a water heater. Call this number (855)642-6647 and get answers to all your questions about installing a water heater.
Since you’ve highlighted the specific codes in California, it’s crucial to familiarize yourself with those regulations before attempting a DIY installation. Failure to comply with these codes could not only result in safety hazards but also legal consequences.
Here are some general steps to consider if you’re contemplating a DIY water heater installation:
Research and Preparation: Begin by thoroughly researching the installation process. Understand the type of water heater you have (electric, gas, tankless) and gather all the necessary tools and materials.
Read the Manual: Carefully review the manufacturer’s installation instructions provided with your water heater. This will outline specific requirements and safety precautions.
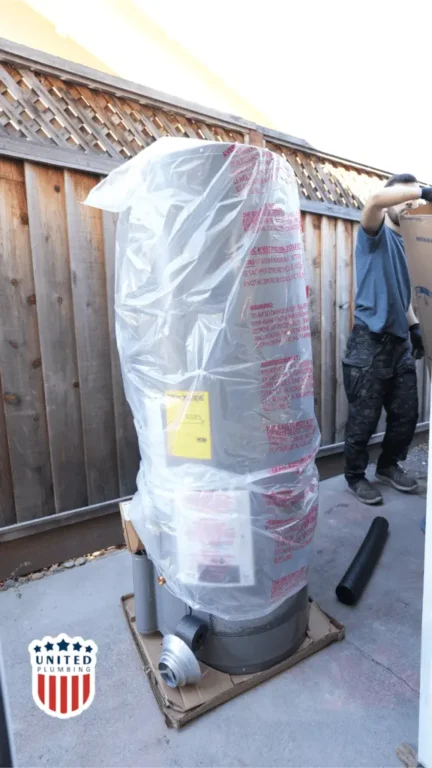
Safety First: Prioritize safety throughout the installation process. This includes turning off the power and gas supply to the existing water heater, using proper safety gear (gloves, goggles), and ensuring adequate ventilation in the area.
Compliance with Codes: As you mentioned, familiarize yourself with the relevant building codes and regulations in your area, especially those specific to California. Ensure that your installation meets these requirements to avoid any issues down the line.
Skill Assessment: Be honest about your DIY skills and experience. If you’re uncomfortable with any aspect of the installation, consider hiring a professional plumber.
Take Your Time: Rushing through the installation process can lead to mistakes. Take your time to carefully follow each step, double-checking connections and fittings along the way.
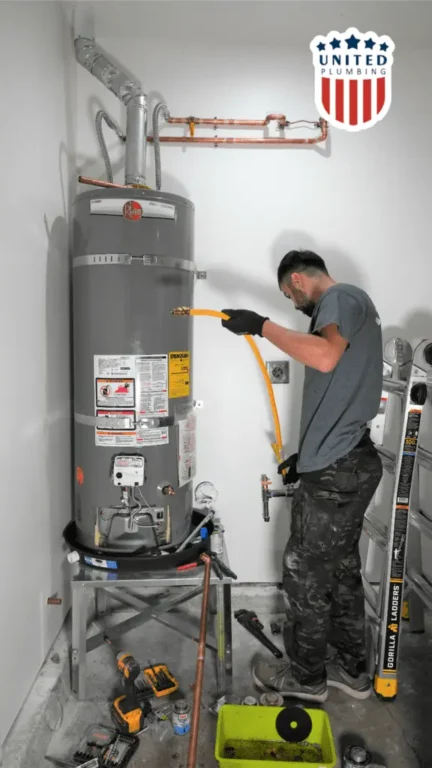
Testing and Inspection: Once the installation is complete, thoroughly test the water heater for leaks, proper operation, and compliance with safety standards. Consider having a professional inspector review the installation to ensure it meets all codes and regulations.
Maintenance and Follow-Up: After installation, maintain your water heater regularly according to the producer’s recommendations – at least once a year.

Indeed, installing a water heater requires a specific set of tools and supplies to ensure a safe and effective installation. Here’s a breakdown of the items you’ll need:
- Voltage Detector: This tool is crucial for safely working with electrical connections. It helps you ensure that there is no live electricity present when working on the electrical components of an electric water heater.
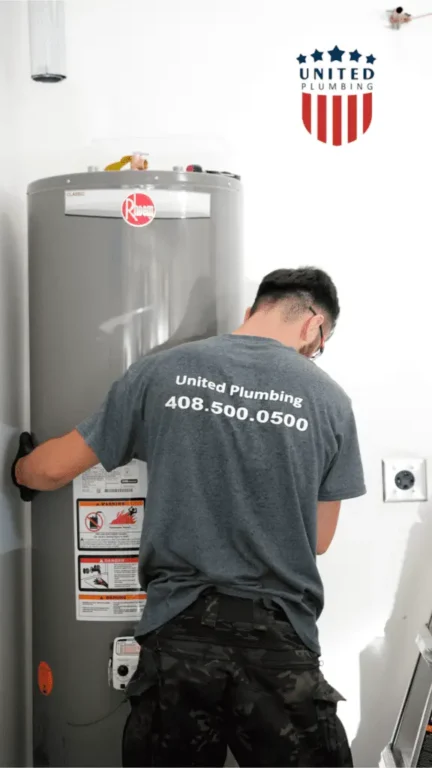
- Wrench & Screwdriver: These are basic hand tools needed for various aspects of the installation, such as securing the water heater to the platform or adjusting the thermostat settings.
- Dielectric Connectors: Depending on your plumbing fittings, dielectric connectors may be necessary to prevent corrosion between different metals used in your water heater and plumbing system.
- Tubing (PIPE) Cutter: You’ll use this tool to cut and prepare copper or PEX pipes for connecting the water heater to your plumbing system.
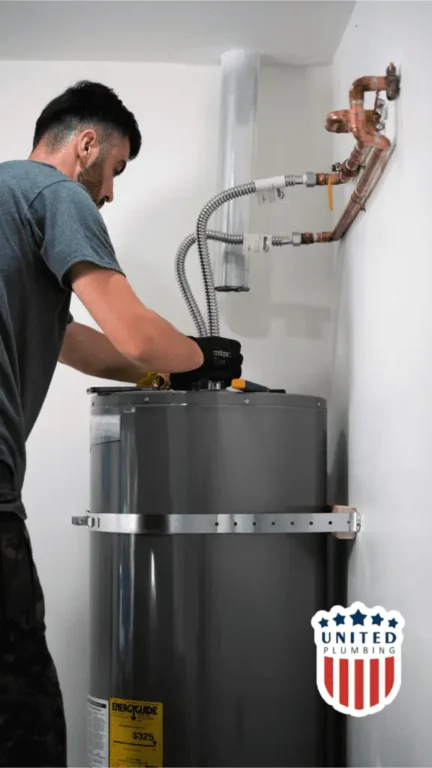
- Water supply: These are recommended for connecting the water supply lines to the water heater. They are more convenient to work with than rigid pipes and allow for easier installation.
- Pipe Dope or Plumbers Tape: These are used to seal threaded connections in your plumbing system, preventing leaks. Plumbers tape is typically used on threaded pipe connections.
- Sandpaper Cloth: While optional, sandpaper cloth can be handy for smoothing and cleaning the pipe ends before soldering or making connections. It helps ensure a watertight seal.
- Soldering Flux with Torch & Solder Wire: If you’re working with copper pipes, soldering is often necessary to create secure and leak-free connections. Soldering flux, a torch, and solder wire are essential for this process.

Click here to download the set tool!
Remember, while DIY projects can be rewarding, safety should always be the top priority, especially when dealing with essential home systems like water heaters. If you’re uncertain or uncomfortable with any aspect of the installation process, it’s best to seek professional assistance to ensure the job is done safely and correctly.
Post views: 407
Latest posts

How to Clean HVAC Ducts Yourself
Why DIY Duct Cleaning Matters
Did you know dirty HVAC ducts can reduce your air conditioner’s efficiency and...

How To Wire an Outlet
Adding or replacing an electrical outlet in your home can seem intimidating, but with the right tools, safety steps,...
If you still have questions or need advice, please leave a request and we will contact you as soon as possible
Need a plumber and got no clue where to start?
(408) 539-6936Facing a plumbing issue? Get a FREE in-person estimate and quick solutions from our skilled technicians, ensuring your home runs smoothly again!