How To Flush A Water Heater – A Complete Guide
Flushing your water heater is a simple but extremely important maintenance task that will extend the life of your water heater and save it from costly repairs and premature water heater replacement. You can flush your water heater without calling a licensed plumber if you will do it regularly.
Learning how to service your water heater is an essential part of maintaining your plumbing system.
Why Should You Flush A Water Heater?
The water entering your home contains minerals. Those minerals slowly settle at the bottom of the water heater tank over time. As sediment accumulates, it can reduce water heater’s efficiency and shorten its usable lifespan, which leads to decreased energy efficiency and increased energy bills.
What Are The Signs That Your Water Heater May Be Full of Sediment Buildup?
- When you tap on the water heater, it should sound solid or muffled due to its insulation. However, if you have knocking or popping sounds, it often means that you have a buildup of mineral deposits inside the tank.
- Decrease in the amount of hot water available is a sign that your water heater needs a flushing or in some cases a water heater repair.
- If you open the T & P (temperature and pressure relief) valve and only a small amount of water comes out, it means that mineral deposits buildup is blocking the valve or affecting water flow inside the water heater tank.
Check the operator’s manual to find how often the manufacturer recommends regular flushing. The regular maintenance section of your water heater manual should provide important details about your water heater needs.
How Often Should You Flush A Water Heater?
- Usually, the water heater should be drained and flushed at least once a year by you or during a scheduled water heater service by a professional plumber.
- This yearly flushing is a perfect time to test the pressure relief valve and make sure the overflow drain is clear.
- Open the T & P valve for a few seconds to test that it’s working like it should and that it allows some water to escape.
- Check the overflow drain to ensure that the water from the temperature and pressure test is properly draining through it.
Step-by-Step Guide to Flush A Water Heater
- Turn off the power source – whether electricity or gas – according to the manufacturer’s manual – this means turning off the circuit breaker for electric water heaters, or turning off the water heater gas valve for gas water heaters.
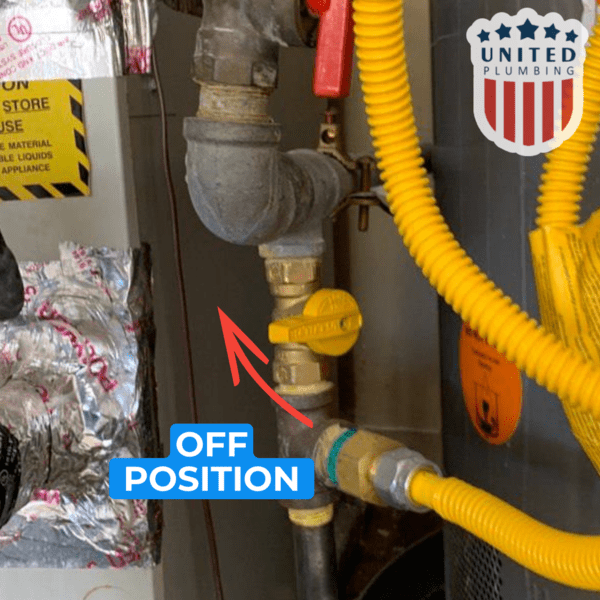
- Next, shut off the water on the inlet, or cold, side of the water heater.
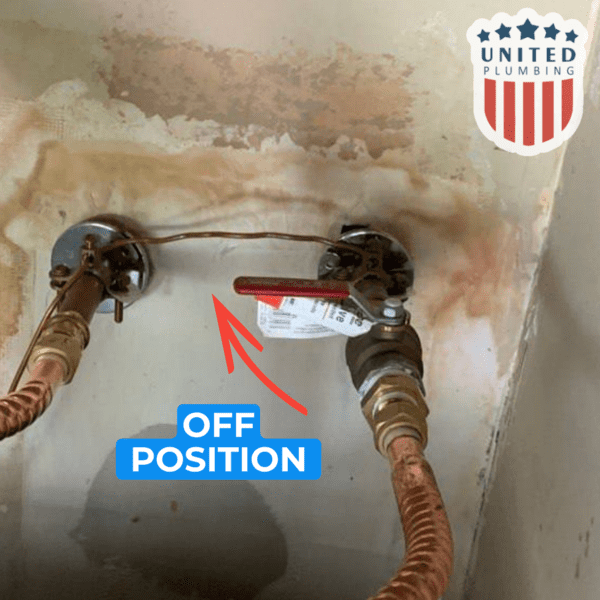
- If your system does not have a special shutoff valve on the inlet side, you will have to turn off the main water supply to the entire house.
- Open a hot water faucet inside the house. This is for air to come into the system and allow the water heater tank to drain.
- Attach the water from your garden hose to the drain valve, which is usually found near the bottom of the tank. Make sure that your water heater gas control valve is on vacation or pilot mode.
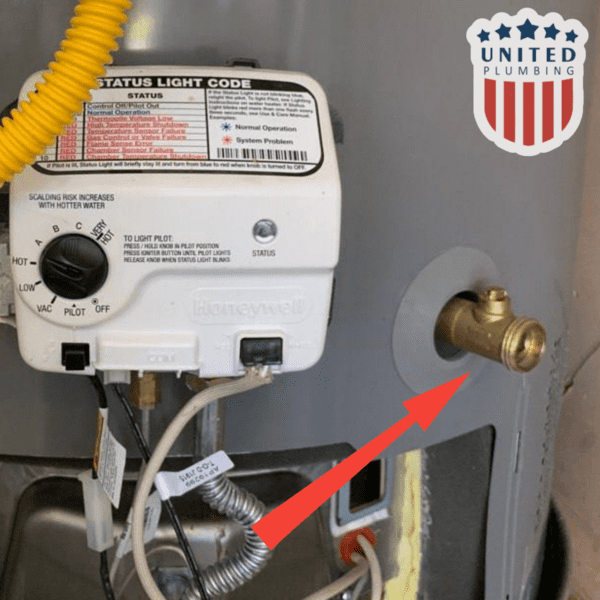
- Route the hose to a safe drainage area like a floor drain or outdoors.
- Take some safety precautions – the water draining will be hot. Treat it with the same care as you would when opening a hot water faucet.
- Open the drain valve on the water heater tank. It may have a handle or might require a flathead screwdriver.
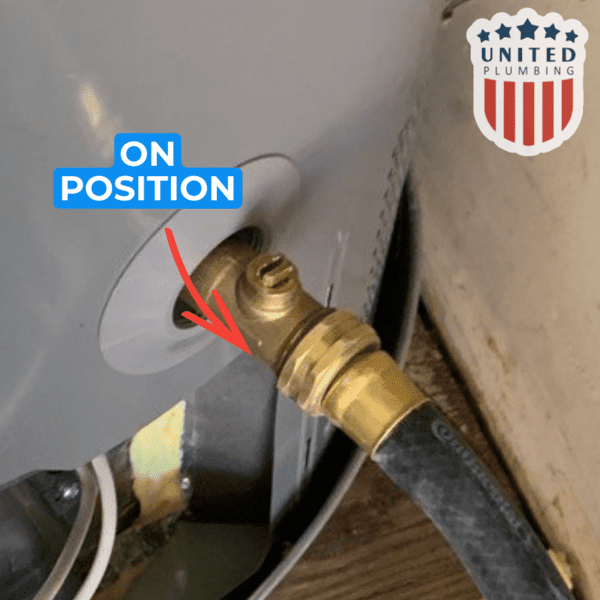
- Water will start flowing from the tank. The time it takes depends on the water heater’s tank capacity and on sediment buildup that was causing the blockage.
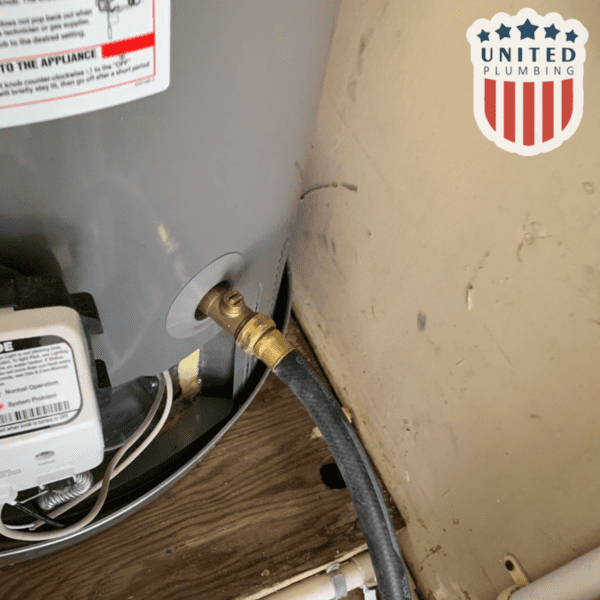
- Once the water heater tank drains completely, slowly turn on the cold water supply. Let it run for a couple of minutes, or until the water coming out through the garden hose is clear, indicating that most of the sediment buildup has been flushed.
- Close the drain valve and disconnect the garden hose.
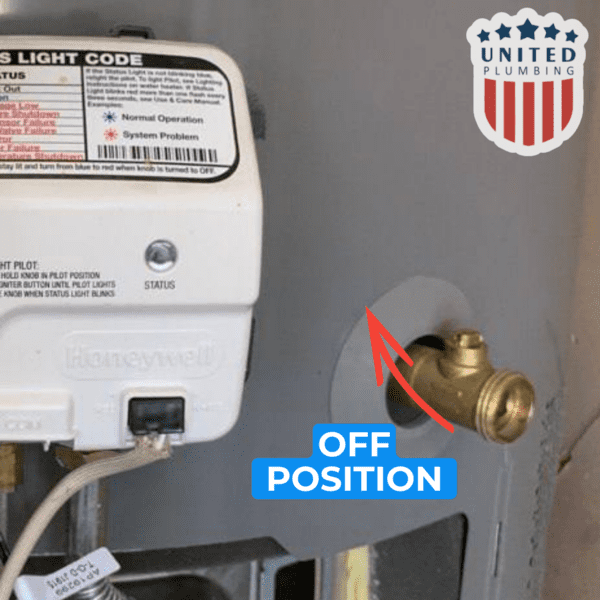
- Allow the water heater tank to refill.
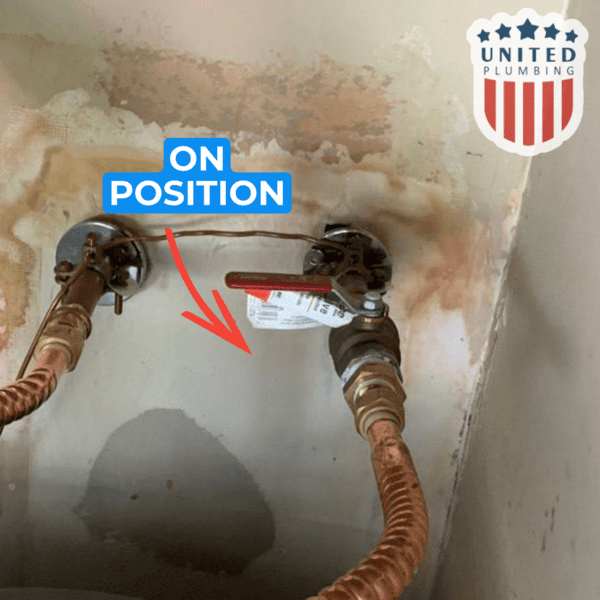
- As it fills, you’ll notice air sputtering from the hot water faucet that was left open. When a steady stream of water flows from the faucet, you can turn it off.
Tips For Flushing Your Water Heater
- Flushing your water heater tank every year maintains good water quality and ensures reliable hot water in your house.
- It extends the lifespan of your water heater.
- Preventive maintenance on a hot water heater includes flushing every year, periodically checking the T & P valve and the overflow drain.
- A few minutes of water heater maintenance can extend the life of your water heater and save you thousands of dollars.
If you have issues with your water heater or need other plumbing services – we can offer professional assistance.
Phone Number: (408) 715-3265
Email Address: [email protected]
Call us to book your service today! Emergency plumbing service is available.
Post views: 739
Frequently Asked Questions
How often should I flush my water heater?
We recommend flushing your water heater at least once per year to remove mineral deposits buildup and maintain its energy efficiency.
What are the signs that my water heater needs flushing?
Pay attention to strange noises such as knocking, rambling or hammering, reduced hot water, little water draining from the valve. They are all signs of mineral deposits buildup inside your water heater tank.
Can I flush my water heater myself, or do I need to call a professional plumber?
You can absolutely flush it yourself if you follow proper steps. However, if you have doubts or are dealing with heavy buildup, it will be better to call a licensed professional.
Is it safe to flush a water heater with hot water inside?
Please always let the water cool and take safety precautions. The water could be very hot, so please treat it as a hot faucet to avoid injuries.
What happens if I don’t flush my water heater regularly?
If you neglect regular water heater flushing, it will lead to decreased efficiency, high energy bills, and even premature failure of your water heater due to mineral deposits buildup.

